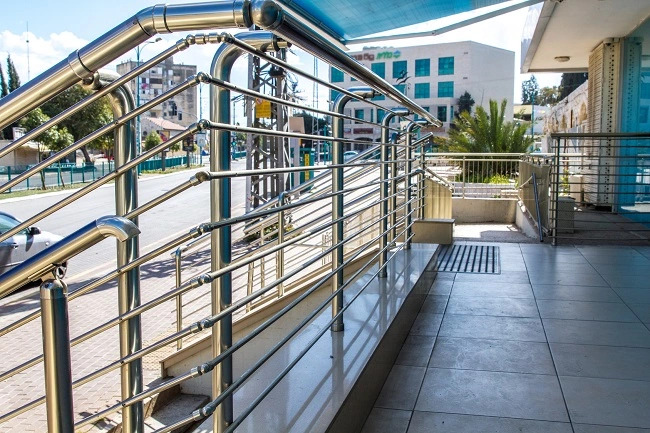
Steel railings have always been a mark of safety, security, support, and attraction with a touch of modernity. Best of all, whether you’re looking to update your staircase, balcony, or deck, installing a stainless steel railing yourself can save you money and give you the opportunity to personalize your space. In this step-by-step guide, Sigma Pipes will walk you through the process, providing you with the knowledge and confidence to complete the project successfully. So, hold on to your steel railing plans, and let’s get started:
STEP 1. Gather the Material Required.
Before you begin the installation process, make sure you have all the tools and materials required. This may include stainless steel railing kit, measuring tape, a pencil or a marker, level, drill, screwdriver, anchors and screws, masking tape, safety goggles, and work gloves.
STEP 2. Measure Carefully.
Start by measuring the area where you intend to install the stainless steel railing. Take accurate measurements to ensure the railing fits appropriately and meets local building codes. Use a measuring tape, and mark the locations where the railing posts will be placed.
STEP 3. Clear Up and Clean Up the Installation Area.
Clear the installation area of any obstacles and debris. If necessary, remove any existing railing or obstructions to make way for the new stainless steel railing with glass or without glass. Ensure that the surface where the railing will be installed is clean and smooth.
STEP 4. Mark for Drill Holes.
Begin by installing the posts that will support the railing. Use the markings you made in the previous step as a guide. Position the posts and mark the locations for drilling. Use a level to ensure the posts are plumb and mark the positions for anchor holes. Drill pilot holes for the anchors and then secure the posts using anchors and screws.
STEP 5. Don’t Forget to Attach the Base Plates.
After installing the posts, attach the base plates to the bottom of each post. The base plates will provide stability and support for the railing. Use a level to ensure the base plates are positioned correctly and then secure them with screws.
STEP 6. Look Out for the Top Rail.
Measure and cut the top rail to the desired length, following the manufacturer’s instructions. Use a saw suitable for cutting stainless steel. Once cut, position the top rail on the posts and mark the locations for drilling. Drill pilot holes and then attach the top rail to the posts using screws.
STEP 7. Evenly Space Out the Balusters.
Measure and mark the locations for the balusters along the top rail. Typically, balusters are evenly spaced, but you can personalize the design according to your preference. Drill pilot holes at the marked locations and then attach the balusters to the top rail using screws.
STEP 8. Secure the Bottom of the Rail.
If your stainless steel railing design includes a bottom rail, measure and cut it to the desired length. Position the bottom rail between the posts and mark the locations for drilling. Drill pilot holes and then secure the bottom rail to the posts using screws.
By adhering to this step-by-step guide of Sigma Pipes, you can successfully install a stainless steel railing in your space. Looking for a decent quote for your next consignment of steel pipes? Reach out to us at https://sigmapipes.com/.

